Art Development: Rosebuds and Gimp Backgrounds
One of the things I was curious about was how to insert different backgrounds into an image once I had isolated it... and I wanted to see what some of the effects in Gimp did when used as backgrounds.
I have assumed that you already know how to resize an image using the drop-down menu under image. Please let me know if you don't, and I will write another post to explain it.


NOTE: To darken the image, repeat steps 1-4 above.

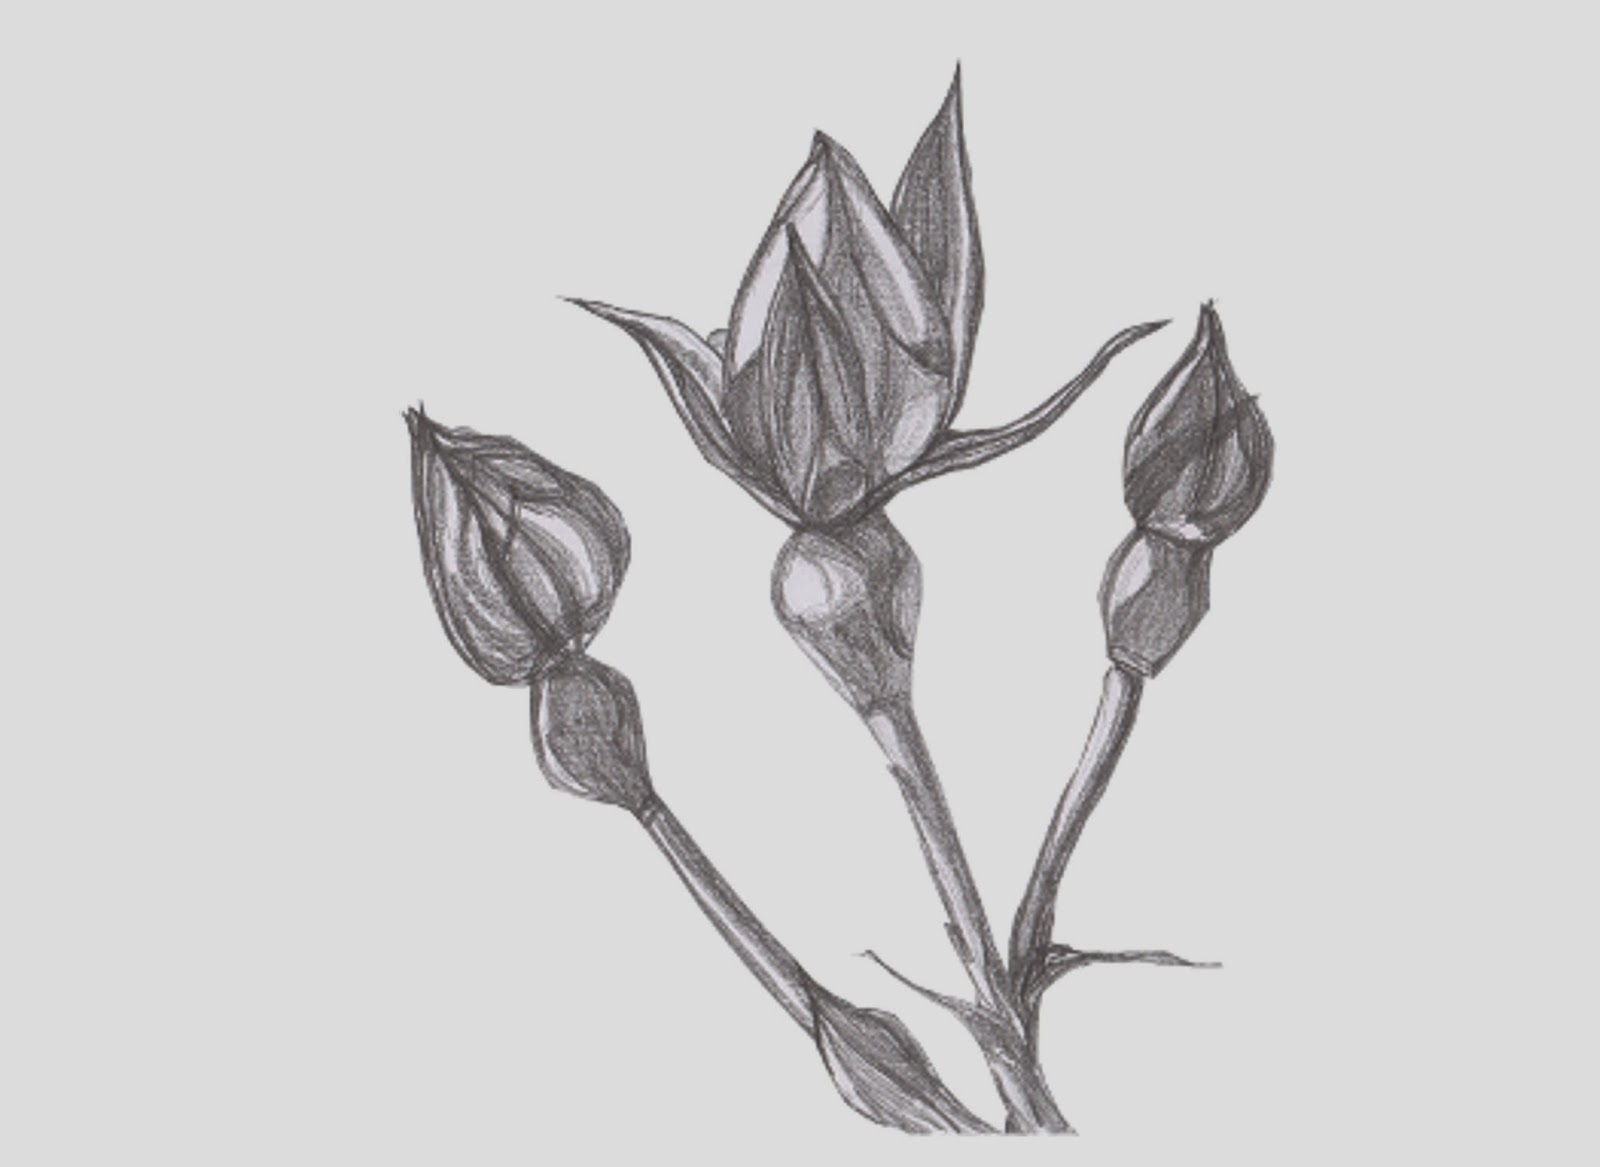
BEFORE:
What you Need:
I usually have the following dockable dialogues visible as I work: Toolbox, Brushes,Tool Options and Layers-Gradients. You will need to be able to see these to work through the following steps.I have assumed that you already know how to resize an image using the drop-down menu under image. Please let me know if you don't, and I will write another post to explain it.
How to Create an Image:
- Click on the 'File' drop-down at the top of the Gimp workspace.
- Click on 'New'.
- Decide on the dimensions of your new image and type them in.
- Click on the 'Advance' option and increase the number of pixels to 300 dpi. (This is the minimum setting for most on-line art requirements.)
- Click 'OK'
- A new image area will appear.
- Note that you can see a single layer in the Layers-Gradients dock. It is labelled Background.
How to Import an Image:
- Click on the File drop-down at the top of the Gimp workspace.
- Click on the 'Open as Layers' option (fourth option down).
- Browse to the image file you want to import and double-click on it.
- Look at the Layers-Gradients dock and note that you now have a Background, Background #1, and a Dropped Buffer layer.
- Right click on the Background #1 layer and delete it.
- Click on the Move tool in the Toolbox (fourth tool down in the right-hand column).
- Click on the image until you are able to select the Dropped Buffer layer and move it so that it sits over the Background layer. When you have the two layers aligned how you want them, release the Move tool.
Background 1: Plain-Jane Grey
- Click on the Background layer so that it turns blue
- Click on the colour box at the bottom of the Toolbox.
- Select a shade of grey that you think will be a suitable background for your sketch.
- Click on the Bucket Fill tool in the Toolbox. (It's the eighth tool down in the left column.)
- Click on a part of the background in the image. The background should turn grey.
Background 2: Blended
- Click on the Blend tool (eight tool down in the centre column).
- Drag the tool across a selection of your sketch and release it. The blend will occur automatically. (You may need to experiment before you achieve the effect you want.)
Background 3: Plasma
- Click on the Filters tab at the top of the Gimp workspace.
- Click on the Render option (sixth option from the bottom.
- Click on the Clouds option (top)
- Click on the Plasma option (third from top)
Background 4: Difference
- Click on the Filters tab at the top of the Gimp workspace.
- Click on the Render option (sixth option from the bottom.
- Click on the Clouds option (top)
- Click on the Difference Clouds option (top)
NOTE: To darken the image, repeat steps 1-4 above.

Comments
Post a Comment