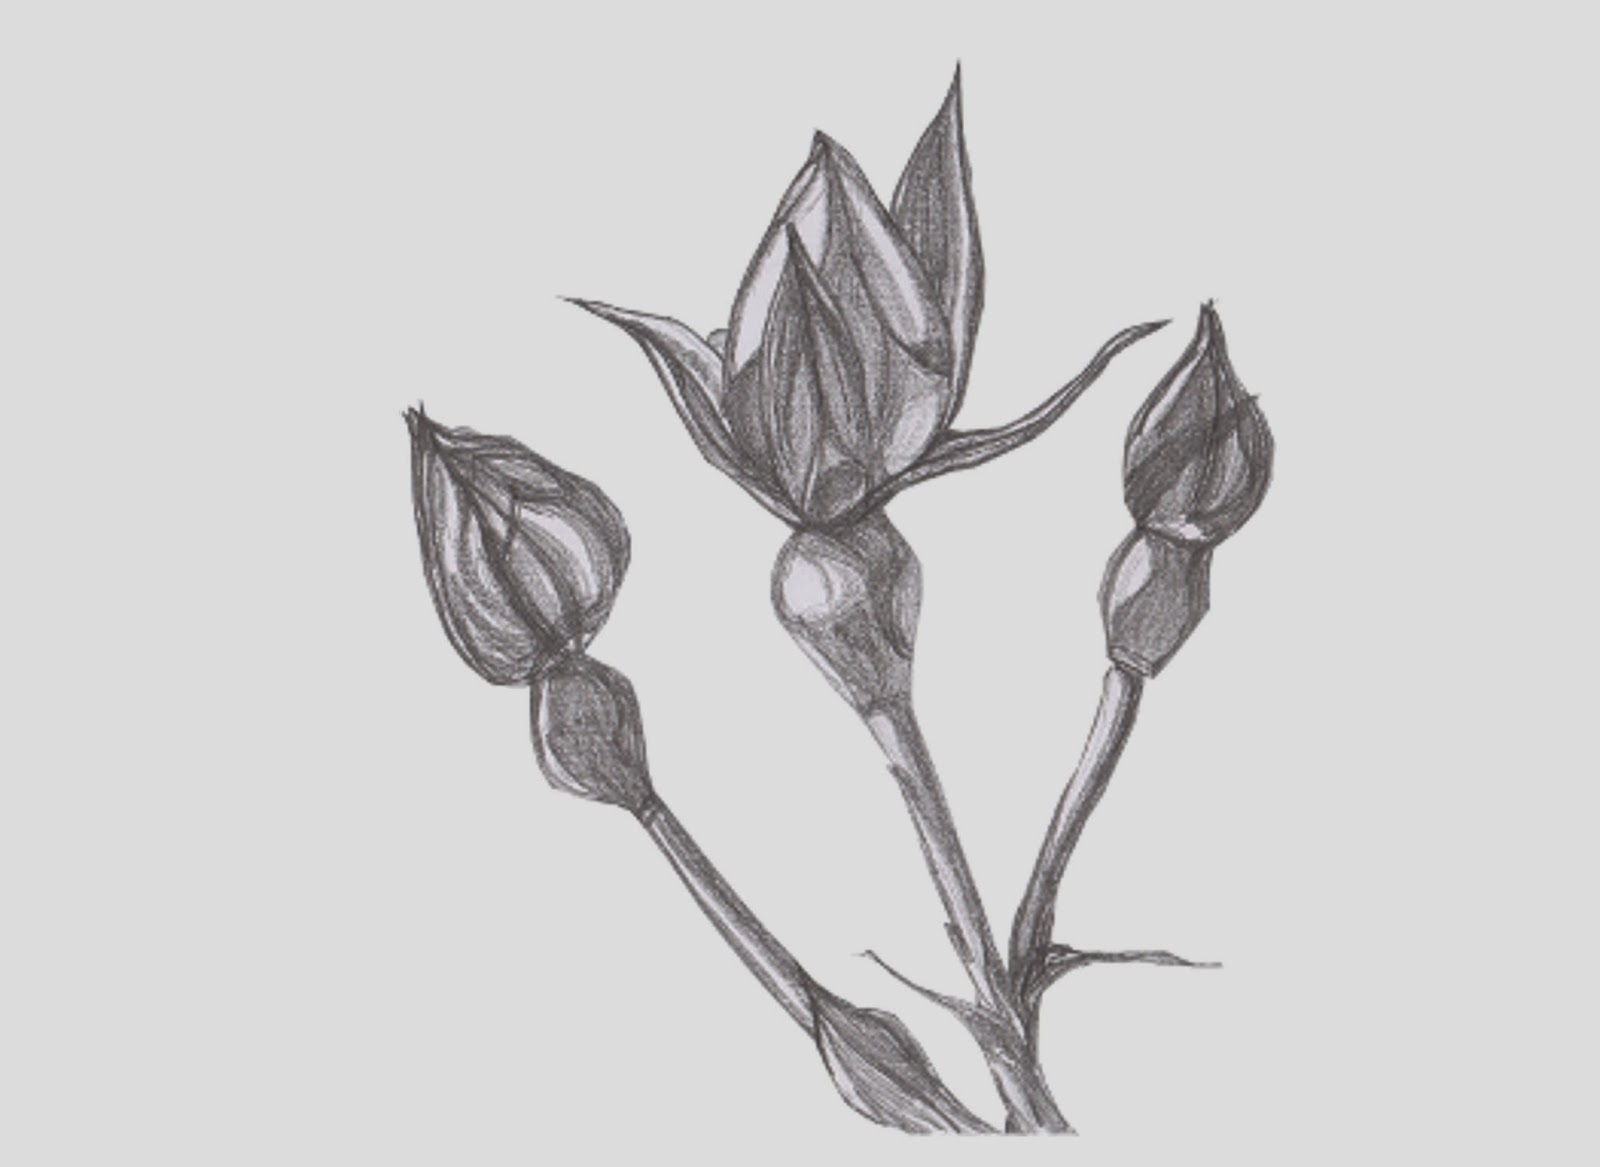
Art Development: Rosebuds and the Gimp Colorize Tool
One of the things I was curious about was how to insert different
backgrounds into an image once I had isolated it... and I wanted to see
what some of the effects in Gimp did when used as backgrounds. Last week, I explored the Blend and Bucket Fill tools in the Toolbox dock, and the Difference Clouds and Plasma effects under the Render-Clouds option in the Filters drop-down.
This week, I wanted to look at some of what might be done with the Colorize option under the Colors tab.
I usually have the following dockable dialogues visible as I work: Toolbox, Brushes,Tool Options and Layers-Gradients. You will need to be able to see these to work through the following steps.
I have assumed that you already know how to resize an image using the drop-down menu under image. Please let me know if you don't, and I will write another post to explain it.
This week, I wanted to look at some of what might be done with the Colorize option under the Colors tab.
BEFORE:
What you Need:
I usually have the following dockable dialogues visible as I work: Toolbox, Brushes,Tool Options and Layers-Gradients. You will need to be able to see these to work through the following steps.
I have assumed that you already know how to resize an image using the drop-down menu under image. Please let me know if you don't, and I will write another post to explain it.
How to Colorize an Image Background:
- Make sure you have a coloured background. (I used my Plasma background picture for this experiment.)
- Click on the 'Colors' tab.
- Click on the Colorize option in the drop-down menu. (NOTE: If you click on OK at this point, you will achieve the following effect. If you want the light grey effect at the bottom, do not click OK.)
- Click on the Saturation slide bar and move it to the left until the counter to the right of the bar reaches 6. (NOTE: If you click on OK at this point, you will achieve the following effect. If you want the light grey effect at the bottom, do not click OK.)
- Click on the Lightness slide bar and move it to the right until the counter to the right of the bar reaches 30. (NOTE: If you click on OK at this point, you will achieve the following effect. If you want the light grey effect at the bottom, do not click OK.)


Comments
Post a Comment