Art Development: Rosebuds and Gimp Manipulation - Isolating an Image
One of the things I recognised is that I would need to digitise my artwork in order to incorporate it into books, or to ship it to anyone interested in purchasing it... should I ever get good enough, and that reminded me that there are programs out there that are quite powerful, but not so intuitive to use.
Gimp, for instance, is free, but has its own quirks. I decided I would try to get my head around what this tool could do... or, perhaps, what I could manage to achieve with the tool.
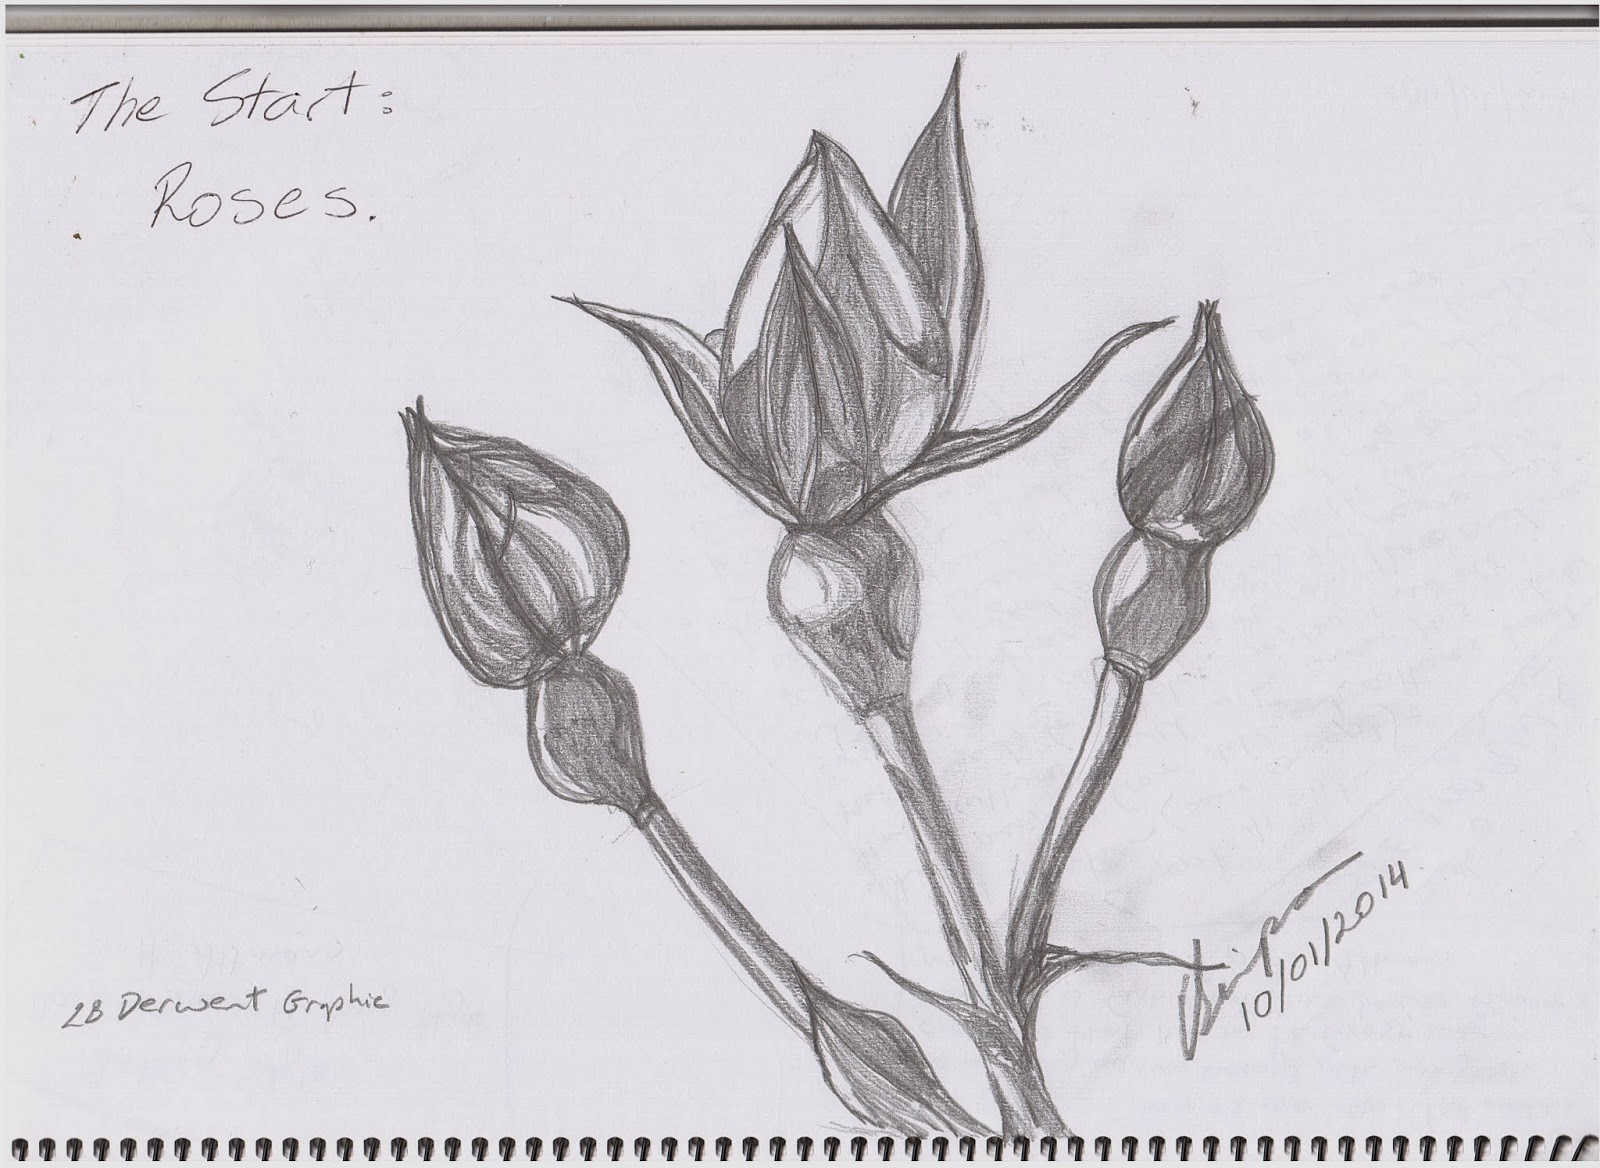
I wanted to isolate the rosebuds from the background clutter by cutting them out. This is done using the 'Free Select Tool'. This is not as easy as it seems, because the clipboard will only take 525x525 pixels. There was much cussing and crying until I worked out I had to shrink the longest edge of the image to 525 BEFORE I began my cut. Of course, the trickiest thing is to remember to write down the original dimensions of the picture and then return the finalised image to the original size.

I have assumed that you already know how to resize an image using the drop-down menu under image. Please let me know if you don't, and I will write another post to explain it.
When I isolate an image, I can then insert the cut-out in other pictures without the background getting in the way. It also lets me play with the background without having to use the traditional method of painting or colouring one in.
More about that next week.
Gimp, for instance, is free, but has its own quirks. I decided I would try to get my head around what this tool could do... or, perhaps, what I could manage to achieve with the tool.
I wanted to isolate the rosebuds from the background clutter by cutting them out. This is done using the 'Free Select Tool'. This is not as easy as it seems, because the clipboard will only take 525x525 pixels. There was much cussing and crying until I worked out I had to shrink the longest edge of the image to 525 BEFORE I began my cut. Of course, the trickiest thing is to remember to write down the original dimensions of the picture and then return the finalised image to the original size.
BEFORE:
AFTER:
What you Need:
I usually have the following dockable dialogues visible as I work: Toolbox, Brushes,Tool Options and Layers-Gradients. You will need to be able to see these to work through the following steps.I have assumed that you already know how to resize an image using the drop-down menu under image. Please let me know if you don't, and I will write another post to explain it.
How to Isolate an Image:
- Resize the image so that no side is larger than 525 pixels. (If you don't, the cut will occur, but the piece you cut out will not be stored in full.
- Because the resizing shrinks the on-screen image, you will need to click on the Magnifying Glass (fourth tool down in the Toolbox)
- Go to the Tool Options window and make sure the dot next to the Zoom In option is selected.
- Click on the image until is is large enough for you to comfortably see the outline you want to trace.
- Click on the 'Free Select Tool'. (It's the third tool along in the top row of the Toolbox.)
- Place the pointer at one point on the image that you want to cut out, and then trace around the image, securing the trace by clicking on the part being traced at regular intervals. (You will need to trace the entire outside of the image as a whole. If you try to cut out extra bits, the cut won't work.)
- When you have completed the outline, make sure you click on the point you started on so that the line begins to flash.
- Click on the 'Edit' tab at the top of the Gimp work area.
- On the 'Edit' dropdown, click on 'Cut' (the fifth option down). This will remove the part of the picture you outlined.
- Click on the 'Clipboard' box in the 'Brushes' dock. This transfers what you just cut out to your pointer.
- Look at the 'Layers-Gradients' dock. You should only be able to see one layer. It should have an open eye next to it and be labelled 'Background'.
- Next, click on the image box to place the cut-out back in the picture.
- In the 'Layers-Gradient' dock, you should now be able to see two layers, the 'Background' layer and the 'Dropped Buffer' Layer. Both will have an open eye next to them. Click on the open eye next to the Background layer to turn the background off.
- Now, click on the 'Move' tool. (This is the fourth tool down in the right-hand column of the toolbox.)
- Click on the picture and move it around until you are happy with its positioning. (I usually try to align it with the outline on the Background layer showing where it was cut from, but this isn't necessary when the Background layer is turned off.)
- When you are happy with the result, resize the image so that it is back to its original dimensions and save it.
Why isolate?
When I isolate an image, I can then insert the cut-out in other pictures without the background getting in the way. It also lets me play with the background without having to use the traditional method of painting or colouring one in.
More about that next week.

Comments
Post a Comment